
Takeover 2 Bosses: Every Confirmed Fight, Beaten
A boss-by-boss guide to Takeover 2: Tyrant, Grillo, Tank, Shane and Scullcrusher, with the tells, punishes and co-op roles that actually work.
Takeover 2's boss fights are named after their arenas: Tyrant in the jungle, Grillo in the fire yard, Tank in the nightclub, Shane in the bar and Scullcrusher in the cage. The winning pattern is the same in every fight: survive the committed attack, parry it, punish once, reset. Source: Takeover 2 on Steam ↗
Boss guides for a launch-week game are always incomplete, and this one is honest about it. Pelikan13 has not published a boss list, and the game is short enough that the community is still mapping the later stages. What we can confirm comes from the official screenshots and the reveal trailer, where each boss health bar carries a name.
That is enough to build a useful guide, because Takeover 2's bosses follow a readable grammar. They are not puzzle bosses with a single solution. They are pressure fights with a small number of committed attacks, and the counterplay is the same skill you use on the street: read the wind-up, parry the commit, punish the recovery.
The confirmed bosses
| Boss | Arena | Body type | Fight shape |
|---|---|---|---|
| Tyrant | Jungle | Massive brute | Charging pressure with adds |
| Grillo | Fire yard | Heavy brawler | Fire hazards and wide swings |
| Tank | Nightclub | Big bruiser | Close-range grapples and crowd |
| Shane | Bar / brasserie | Armed boss | Ranged pressure and melee mix |
| Scullcrusher | Cage | Grappler | Grab punishes in a tight arena |
The names are visible on the boss health bars in official footage. Their exact move lists are not documented, so the sections below describe the fight's identity and the habits that beat it, not frame-perfect punishes.
How boss fights work in Takeover 2
Every boss fight in the footage shares three features:
- A named health bar at the bottom of the screen. The bar is the fight's progress, but it is not the only win condition in every mode.
- Adds. The boss is rarely alone. The arena fills with regular enemies, and those enemies are both a threat and a resource.
- Environment. Boss arenas are full of throwables: cones, barrels, bins, gym equipment, bar furniture. The arena is part of the fight.
The boss's own attacks are committed. They have a wind-up long enough to read, a hit that hurts, and a recovery long enough for one punish. The mistake is treating the boss like a regular enemy and trying to combo through the wind-up.
Tyrant (jungle)
Tyrant is the jungle boss, and the arena is built around space. The fight is a pressure test: the boss closes distance, the adds fill the lanes, and the vegetation limits how clearly you can see the next attack.
What to do:
- Keep one screen edge behind you. The jungle's clutter makes off-screen attacks hard to read.
- Throw the environment at the adds, not the boss. Clearing the adds gives you a clean parry window.
- Parry the big committed charge. Do not try to dodge it with a short step; the boss's reach is longer than it looks.
- Punish once, then reset. Tyrant's recovery is short enough that a greedy second combo will eat the next swing.
Co-op: one player holds the adds on the far side, the other stays in front of the boss. Do not both stand in front; the boss's sweep hits both of you.
Grillo (fire yard)
Grillo's arena is on fire. The flames are not just scenery: they narrow the safe floor and force you into the boss's preferred range. The fight is about patience and lane discipline.
What to do:
- Fight on the safe side of the fire. Do not chase the boss through a flame patch to land one extra hit.
- Watch the feet. Grillo's wide swings start with a planted stance; the tell is the hip rotation, not the arm.
- Use throws to knock the boss into the fire if the arena allows it. Even if it does not damage the boss, it buys space.
- When the flames spread, reset to the centre and let the boss come to you.
Co-op: the second player should cover the escape lane. If both players get cornered by fire, the fight turns into a damage race you will lose.
Tank (nightclub)
Tank is the nightclub fight, and the arena is tight. The neon lighting makes some tells harder to read, and the crowd of adds turns the dance floor into a blender.
What to do:
- Do not stand in the middle of the floor. Put your back to a wall and make the boss come to you.
- Tank's grapple is the threat. If you see the grab animation, dodge rather than parry; grapples are usually not parryable.
- Clear the adds before you commit to a boss combo. A grab with an add behind you is a death sentence.
- Use the bar and the stage as landmarks. When the camera zooms or the lights change, reorient before you attack.
Co-op: one player pulls the adds away, the other baits the grab. If the boss grabs one player, the other should hit the grab, not the boss's back.
Shane (bar / brasserie)
Shane is the armed boss in the bar. The fight mixes ranged pressure with melee, which makes it the most positional fight in the confirmed set.
What to do:
- Close the distance early. Shane is most dangerous when you are standing at mid-range with no plan.
- Use the bar furniture as a throwable while you close. A thrown stool is a free approach.
- Watch the hands. An armed boss's tell is usually the hand moving to the holster or the weapon, not the whole body.
- Do not parry a gunshot. Parry the melee commit; dodge or break line of sight for the shot.
Co-op: split the angles. One player pressures from the front, the other comes from behind the bar. Do not both approach from the same side.
Scullcrusher (cage)
Scullcrusher is the cage fight from the trailer. The arena is small, the crowd is close, and the boss is a grappler. This is the fight that punishes panic movement hardest.
What to do:
- Stay off the cage wall. The wall removes your escape lane and gives the boss a free corner.
- Bait the grab, then punish the whiff. Do not attack into the grab's active frames.
- Use the cage geometry: circle, do not backpedal. Backpedaling into a wall is how the grab lands.
- Keep your combo short. The cage is too small for a long route that carries you into the boss's next attack.
Co-op: one player stays in front as bait, the other punishes the grab from the side. If both players attack from the front, the boss's grab can catch both.
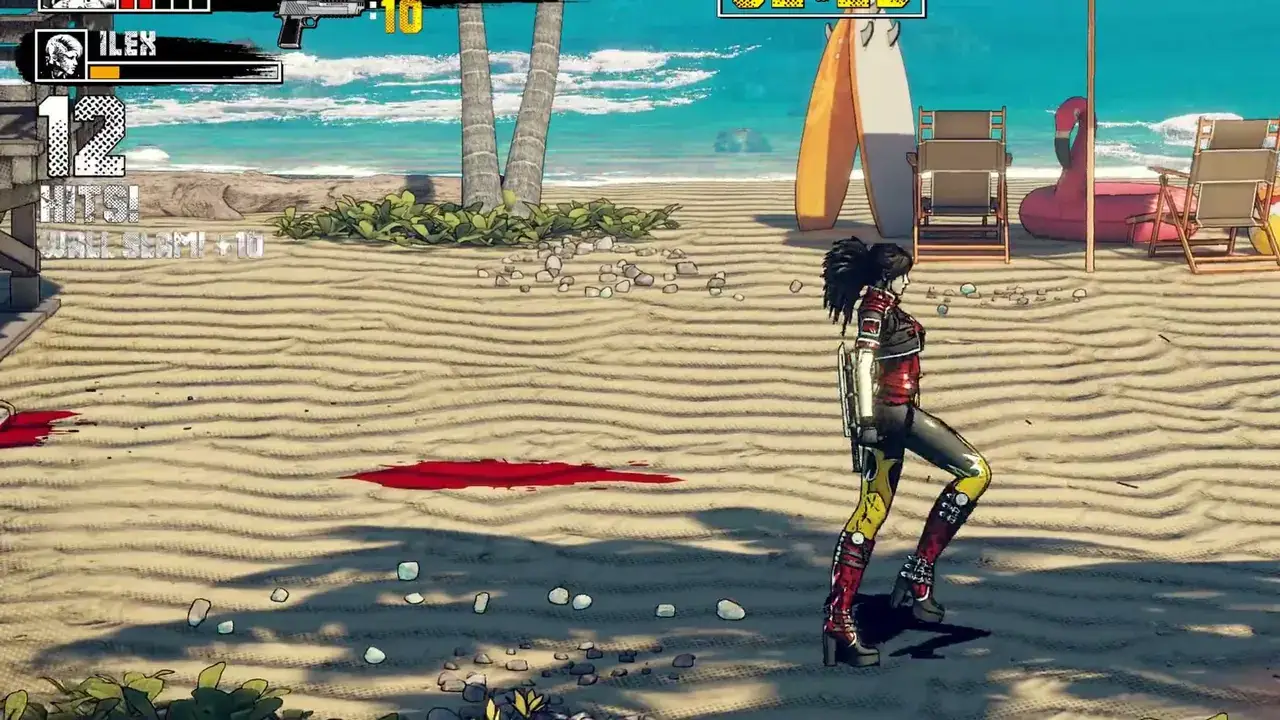
The universal boss checklist
Before you blame the difficulty, check these five things:
- Are you parrying the commit or the wind-up? Early parries are the most common boss death.
- Are you fighting in the middle of the arena? Move to an edge or a corner you control.
- Are the adds alive? A boss plus three adds is a different fight from a boss alone.
- Are you using the environment? Every confirmed arena has throwables.
- Are you greedy after a parry? One punish is safe; two is a gamble; three is a hit.
Bosses on higher difficulties
The achievements confirm Classic, Mania and Hardcore clears. Bosses are where the difficulty gap is most visible. On Mania, expect less recovery and more add pressure; on Hardcore, expect a single mistake to decide the fight.
The route does not change. The execution window does. If a boss feels impossible on Hardcore, drop to Mania, learn the tell until it is automatic, then return. There is no achievement for suffering.
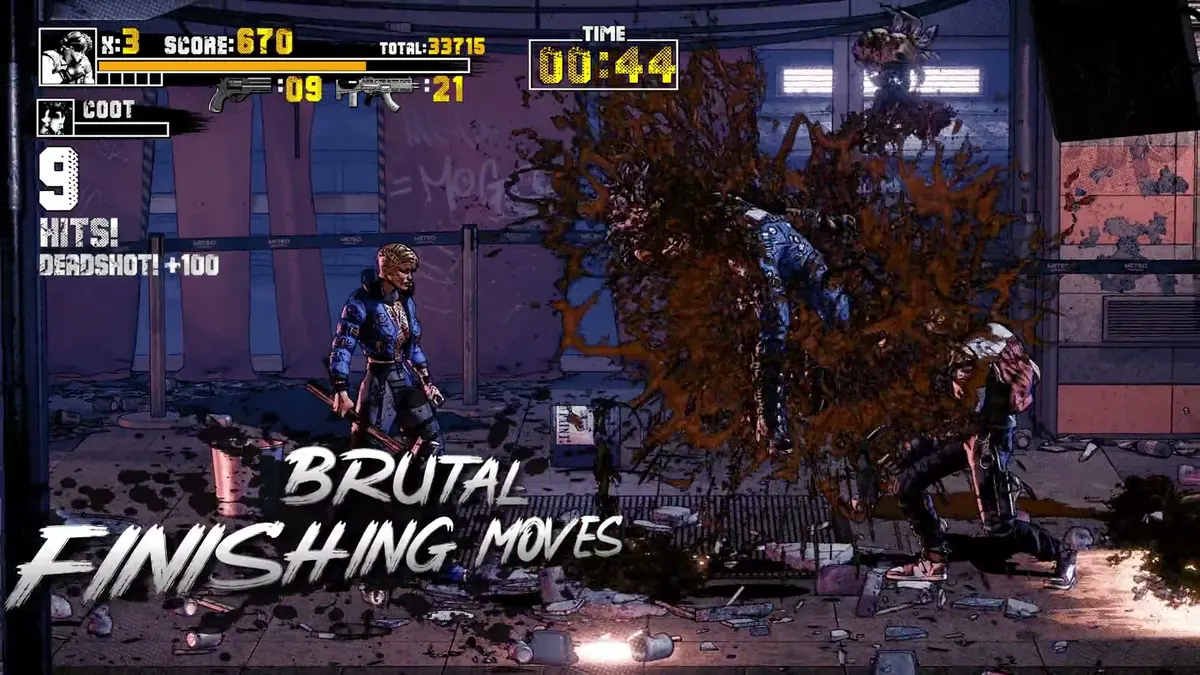
Boss order and stage context are mapped on the stages page→.
FAQ
How many bosses are in Takeover 2?
At least five are confirmed by name in official footage: Tyrant, Grillo, Tank, Shane and Scullcrusher. Pelikan13 has not published a complete boss list.
What is the hardest boss in Takeover 2?
There is no official ranking. Scullcrusher's cage fight is the most punishing for players who panic, and Shane is the most positional. Hardcore players report the later fights scale hardest.
Can you parry boss attacks?
You can parry committed melee attacks. Grabs and gunshots are usually not parryable; dodge those instead.
Sources
- Takeover 2 on Steam ↗
- Takeover 2 reveal trailer breakdown ↗
- Steam news and patch notes ↗
- Takeover 2 achievements statistics ↗
Official source: Takeover 2 on Steam ↗ Takeover 2 guides and walkthroughs